
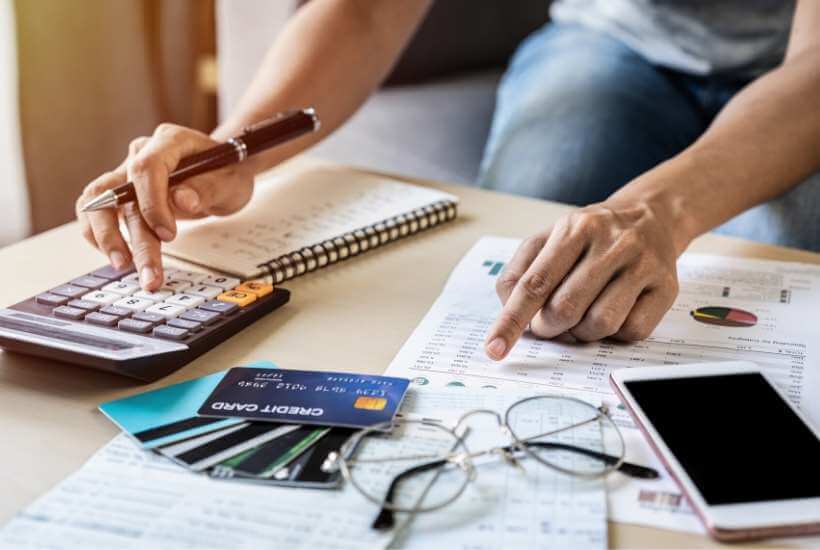
How to Keep Track of Your Bills in 9 Simple Steps

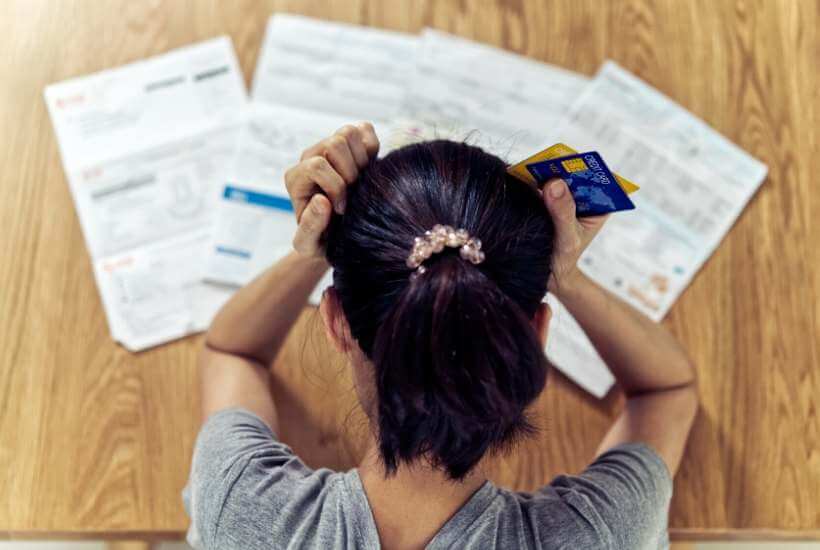
Do you struggle with staying on top of your bills? In this day and age, many often have many bills to keep track of, and it can be difficult to manage all of them effectively. One of the best ways to get your finances organized is to set up a defined system to track your bills. By following the methods laid out in this post, you’ll be able to keep track of your bills by getting them organized so that you never miss another payment.
Organizing Your Bills
First things first, you need to go through all of the bills that you have and jot them down (or type them out). Throughout this process, keep in mind that we are tracking bills, and not expenses that have a regular due date tied to them. There are slight differences between electronic and physical bill tracking, and those are covered below.
Organize Electronic Bills
To track all of your electronic bills, I’d start simply by reviewing your last bank or credit card statement and capturing all the bills that show up for the last 2-3 months. To help you make sure you don’t forget anything, here is a list of common bills that most people have:
- Housing Costs: Write down your rent or mortgage amount, as well as any utilities (electricity, water, etc.)
- Car Costs: This would include your car payment or leasing costs
- TV/Internet: Grouped together as usually a single payment in many households
- Insurance: Most commonly this will include health, car, and life insurance
- Transportation: Likely only applies if you have standard bills, like highway passes or subway passes
- Debt Payments: Track all your loan payments, credit card and any other debts that you have a standing bill for
- Other Recurring Payments: Many of us have recurring subscriptions/payments to apps and gym memberships
Next, it’s time to start documenting all of the bills that you have. I recommend documenting all of your bills on an excel spreadsheet so that it’s easy to track everything and make changes as your bills change. If spreadsheets are not your thing, it’s no problem if you decide to write everything out either by hand or in a Word document instead.
In addition to writing down the name of the bill, document both the due date of the bill and the amount. This will make sure you’re tracking everything in one place for further planning. As we get to the final steps of tracking all of your bills, you can have a better idea of how to plan for the timing of payment.
Organize Physical Bills
The main difference in organizing your physical bills, is that they may not show in your statement like electronic bills do, especially if you pay by check or in cash. To make sure you’re keeping up with everything, you should go through your past bill stubs and document the same information you captured for the electronic bills: 1) Bill name, 2) Bill amount, and 3) Bill due date.
Also, if you are still using physical bills to make payments, I highly, highly recommend that you sign up for electronic billing. There are two main reasons for this. The first being that it will be easier to set up features like automatic bill pay, which is so helpful for paying bills on time. The second reason is that this helps with reducing waste a bit – let’s save some trees, right?
RELATED: How to Organize Your Finances
Account for Irregular Bills
One thing that I think is important to note is that you must document irregular bills as well. And by irregular, I mean those bills that only hit you a few times a year. These will vary from person to person, but one thing that comes to mind is car maintenance costs or bills that have long cycles. For example, my car insurance is only billed 2x per year.
Create a Bill Tracker and Calendar
Creating a Bill Tracker
Now that you have everything tracked, it’s time to put it all together. All the documentation that you did in the proceeding steps can be used to build out your complete Bill Tracker.
If putting together your own template seems like a chore, don’t worry – I’ve built a spreadsheet template that you can use for free!
Creating a Bill Calendar
Now that your bills are all documented, it’s time to put them in your calendar. I won’t tell you which calendar / reminder system to use, but here is how you should set the reminders up.
- Monthly, recurring payments should be added to the calendar on their due date (or the date you chose to pay them)
- Irregular bills should be added to the calendar on the date that you anticipate them, with a note that the exact timing might change
- As you put them in your calendar, don’t forget to add recurrence, as appropriate; and then set up reminders ahead of and on the date on which you will pay them
A few options for setting these up include:
- Google Calendar: A popular choice for many, it has full calendar functionality and is synced to your google email, of course
- Phone calendar (android / iphone): An easy option for anyone who wants to track their bills at their fingertips
- Phone reminders: Another option is to use the phone reminders, easy if you don’t prefer a calendar view and just want to track to a date
How to Pay Your Bills
Opening Multiple Checking Accounts
Now that you have all your bills organized and your payment reminders set up, it’s time to think through your process for paying your bills. One system that many have found useful is to set up multiple checking accounts. You can do this in a number of ways, but essentially by using this system, you will be setting up at least two checking accounts. One where you pay your bills from, and another that you use for miscellaneous expenses.
Using multiple accounts can be useful if you find it easy to track spending by splitting up how you spend from your accounts. Many find it most beneficial when trying to make sure that they always have sufficient money to cover bills first. Also, if you have a two-income family, this is one area where it could make the most sense for a joint account.
Here are a few tips for opening up multiple checking accounts:
- If you currently only have one checking account, set up a new one.
- Decide which checking account you will use to pay bills.
- Decide which checking account you will use for any income / direct deposit payouts
- If you decide to have your income hit the same account that you pay bills from, then I recommend that you set up auto-disbursements from that account to your account for variable expenses / fun money
- If you get paid in an account that is different from your bill-pay account, then you should set up auto-disbursements TO your bill-pay account instead
Note, this system will not work well at all if you don’t have auto-disbursements set up. Without them, it’s likely that you will overdraft your bank account. As you set up the disbursements, make sure they line up with all your bill-due dates.
Auto-Pay Electronic Bills
It’s best practice for you to set up auto-pay for all your bills. Similarly to how you should have your savings set up, taking your finances to “set and forget” will enable you to have greater financial success. In this case, it’s because you’re not missing any payments.
Auto-Paying Your Bills with Credit Cards
When setting up auto-bill pay with your credit cards, it’s typically just as simple as adding your credit card to the payment method for the bill in question. Most companies will have the option for you to set up automatic payments. The steps for setup may vary by company, but they should all be clearly described on their billing sites.
I personally prefer to manage my bills this way for two reasons. The first being that if there is an issue with my bill (e.g., it’s too high), disputing is simpler, and the incorrect amount never comes out of my bank account.
The second reason I prefer this method is because it lessons the number of transactions that hit your actual bank account. I will caveat, this only works if you pay off your credit card EVERY month. Don’t increase the cost of your bills by delaying their payment and accruing credit card interest.
Auto-Paying Your Bills with Your Bank
The specifics of setting this feature up will vary by your bank, so to figure out how to do this, I recommend googling “bill pay with [your] bank”. The benefits of this include being able to autopay bills that don’t have that functionality set up for you already.
This feature also helps with things like bill consolidation and alerts, depending on the bank. I recommend using this option if you are not a good credit card user.
Conduct a Quarterly Review of Your Bills
Now that all of your bills are organized and set to be paid automatically, I should mention that it is important that you review your bills on a quarterly basis. This is a good idea for a few reasons:
- You can take a look at your bill spending trends and make decisions to lessen those bills that tend to rise up on you. An example of this is your cable bill – usually once the promotion period is over, the price jumps up drastically. If you catch it, you can usually just call your provider to get it lowered.
- You have the opportunity to compare the amounts of your bills to other providers, which can save you a lot of money in the long run. For example, are you getting the best car insurance rates? It’s always in your best interest to shop around.
RELATED: The Best 50/30/20 Budget Template
Get a Credit Monitoring Service
Credit theft is a big issue, and will continue to be. One safety precaution that you can set up is getting credit monitoring set up so you are always informed if anything odd comes up. I recommend using Credit Karma – which is FREE and will help you identify credit error and theft. This will help you in the future to prevent financial situations such as high interest rates and/or rejection for new credit lines.
Adjust Your Bill Payment Timing
Most bills, give you the option to pay it within a set amount of time. When this is not the case, you typically have a say in changing the timing of your bill. Now, as we conclude our discussion on how to track bills, one thing to keep in mind is how much say you want on WHEN you pay your bills. There are two schools of thought here:
- Pay your bills one-by-one: This requires no setup or change, but in this instance you’ll have disbursements from your account throughout the month. This works if you have a bit of buffer in your checking account already
- Pay your bills all at once: Time your bills to hit at the beginning, middle, or end of the month so you know exactly when they hit. This is the BEST way to go from a planning perspective.
If you do make changes to the timing of your bill payments, then don’t forget to go back and update your calendar to reflect the timings.
In Summary | The 9 Best Ways to Keep Track of Your Bills
I hope this post on the best ways to keep your bills has been helpful to you. In summary, here are the 11 steps that we covered:
- Organize Your Electronic Bills
- Organize Your Physical Bills
- Account for Irregular Bills
- Create a Bill Tracker & Calendar
- Open Multiple Checking Accounts
- Auto-Pay Your Bills
- Conduct a Quarterly Review of Your Bills
- Get a Credit Monitoring Service
- Adjust Your Bill Payment Timing
If you have any other helpful tips and tricks to keeping track of your bills, let me know in the comments below!
This is a great guide, thanks for all the tips!
Glad you found it helpful, Hannah!
Great tips! Having a system for tracking bills makes things so much easier. And it helps avoid those nasty late fees which is a bonus.
It sure does!